Release
v0.24: Remote VMs
Move a project to your own VM, close the laptop, and let the agents keep working. The board, chat, and agent terminals stay in the same app on your PC.
Highlights
- Remote VMs — run a project's agents on your own Proxmox or Ubuntu/Debian VM, from the same app, over an encrypted connection.
- Stability — smoother terminals and transcripts, and full Codex history.
- Look — Dark is the default theme, and Ocean has higher contrast.
- Dev Template — renamed to DevChain Development Flow.
- Mobile app 1.10.0 — one project list across home and your VMs, and the last chat reopens at launch.
Install or update with npm install -g devchain-cli.
Before you start
- Syncthing v2 on your PC. DevChain installs it on the VM.
- For your own VM: a dedicated headless VM with Ubuntu 22.04+ or Debian 12+, amd64, and at least 4 GiB of RAM. Your PC must reach it on ports 22 (SSH), 3000 (installer), and your DevChain port, and Syncthing needs TCP port 22000 between them. Do not use a VM that does other work: the installer removes desktop session packages.
1. Open Remote VMs
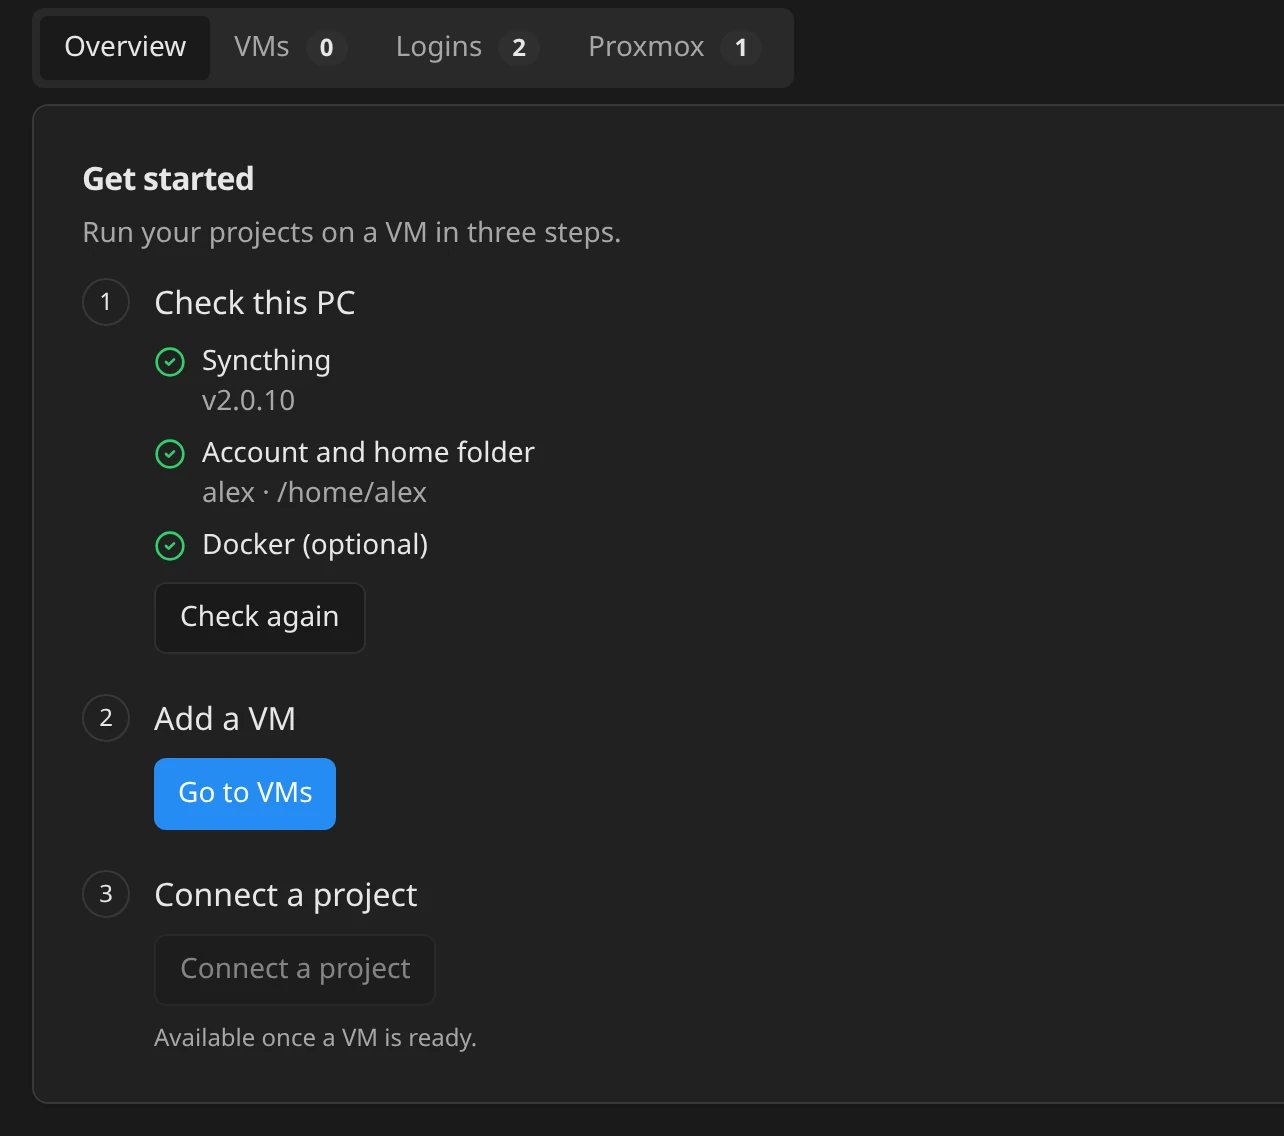
In DevChain, open Cloud → Remote VMs. The Overview tab checks this PC — Syncthing, your account and home folder, and Docker — and shows the next step.
2. Add logins
On the Logins tab, choose Add login to store the provider logins your VMs use. Paste a Claude or Copilot token, sign in to Codex, Antigravity, Copilot, or OpenCode, or import this PC's OpenCode keys. You can also sign in during the VM setup.
3. Add a VM
On a Proxmox server
- On the Proxmox tab, choose Connect a server.
- Generate the setup block and run it as root in the Proxmox node shell. It finds the node, the storage, and the network bridge itself.
- Paste the connection string that the block prints, compare the TLS fingerprint with the node, and connect.
- Choose Add VM. Enter a name, choose a size (Small, Medium, Large, or Custom) and the logins, then choose Create VM.
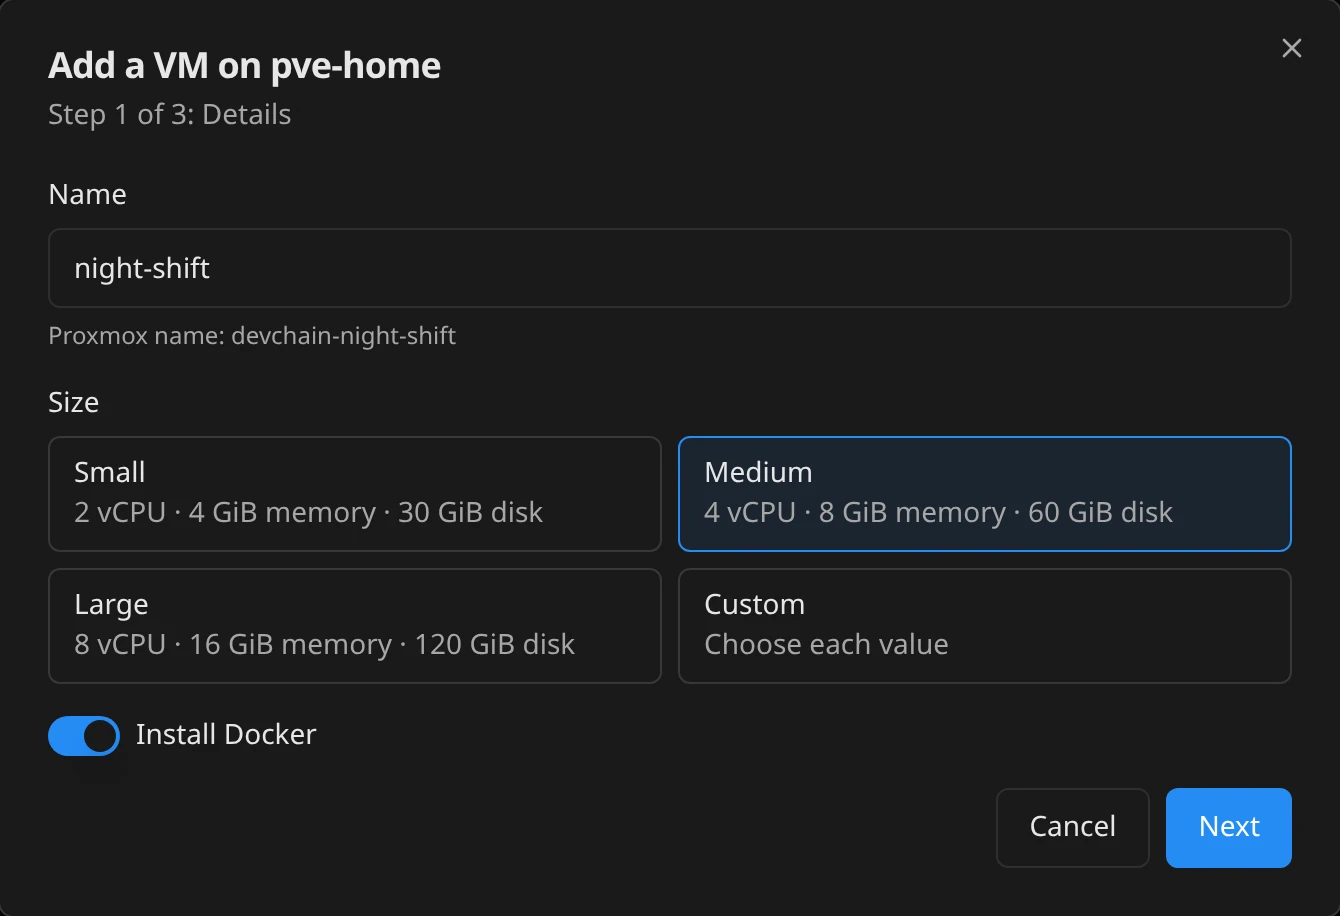
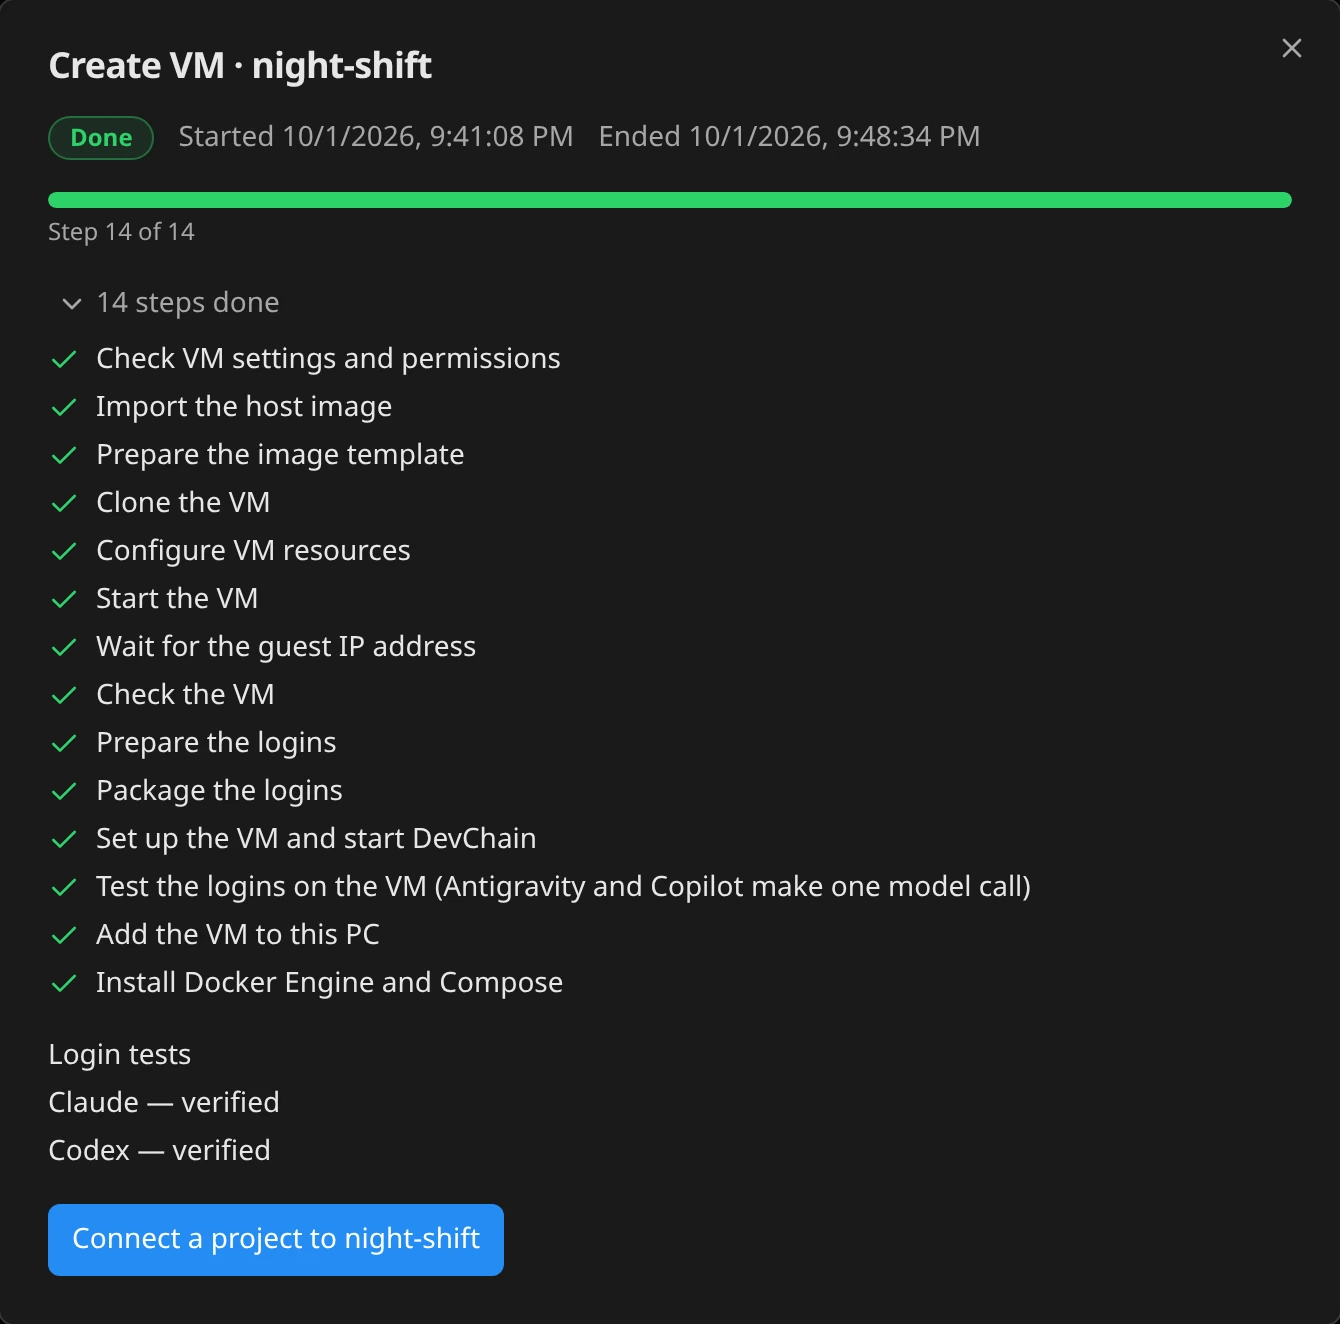
DevChain imports the host image, creates and starts the VM, and sets it up. Activity shows each step.
On your own VM
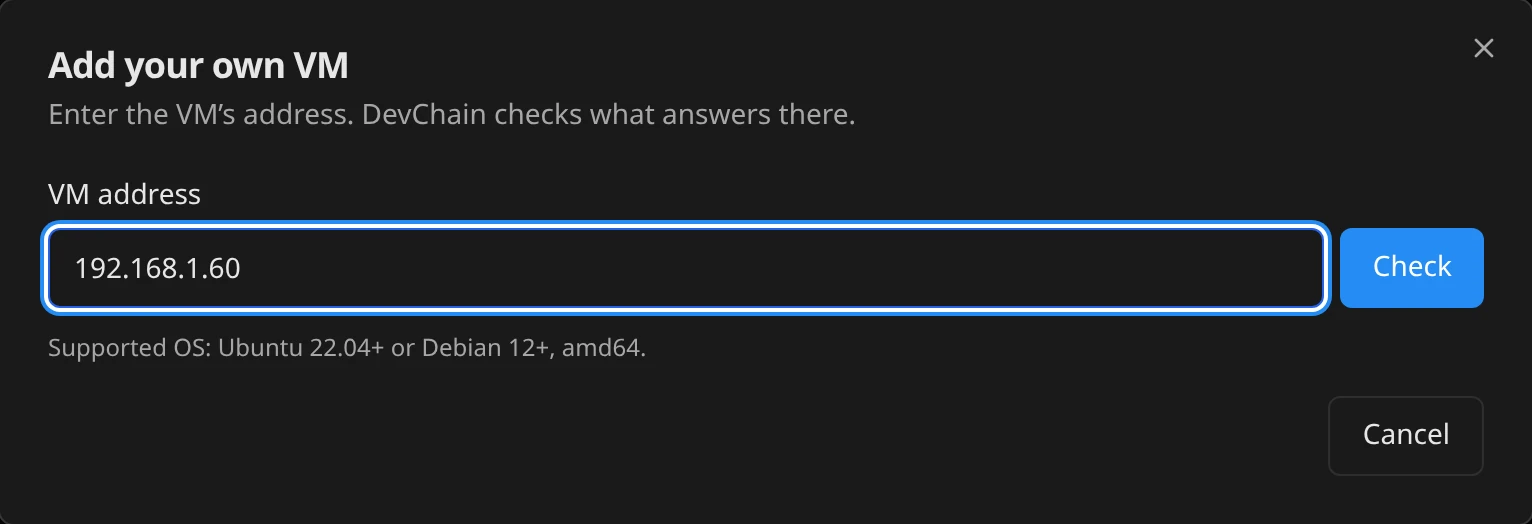
- On the VMs tab, choose Add VM → Add your own VM.
- Enter the VM's address and choose Check.
- Choose Install over SSH. Enter the SSH user and sign in with a key from this PC, a password, or a pasted key.
- Choose the logins, review, and choose Install and set up.
To install from a terminal instead, run devchain host install while DevChain runs. If DevChain cannot reach the VM over SSH, choose Run the install block yourself, paste the block into a root shell on the VM, then paste the certificate fingerprint that the block prints into the dialog.
4. Connect a project
- Choose Connect on the project's row, or Connect to VM in the cloud menu at the bottom of the app.
- Choose the VM, and check the file-sync ignore list. When your PC and the VM both run Docker, you can also pick the project's containers to move.
- Choose Connect.
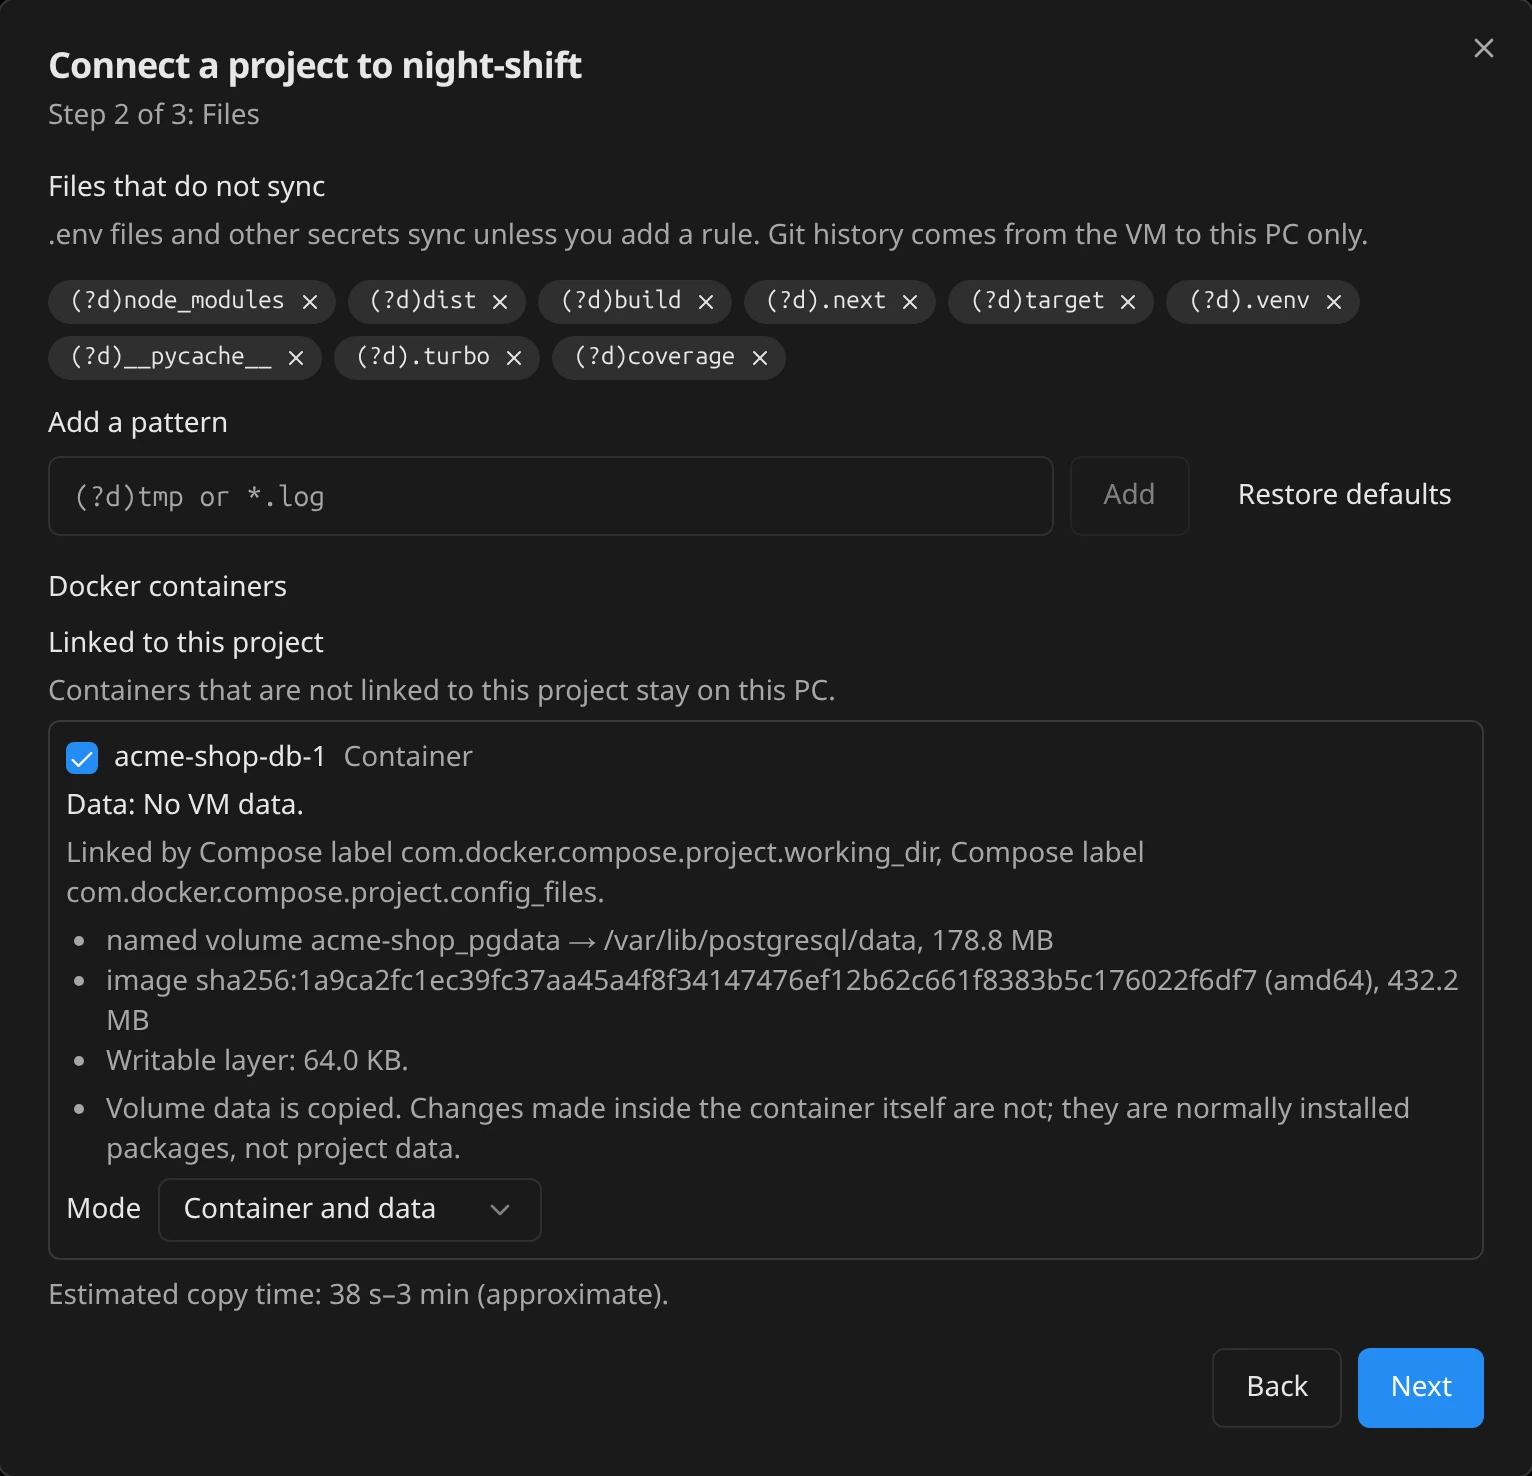
DevChain copies the project, its Claude and Codex transcripts, and the containers you picked to the VM, then makes the VM the project's owner. Activity shows each step.
5. Work as usual
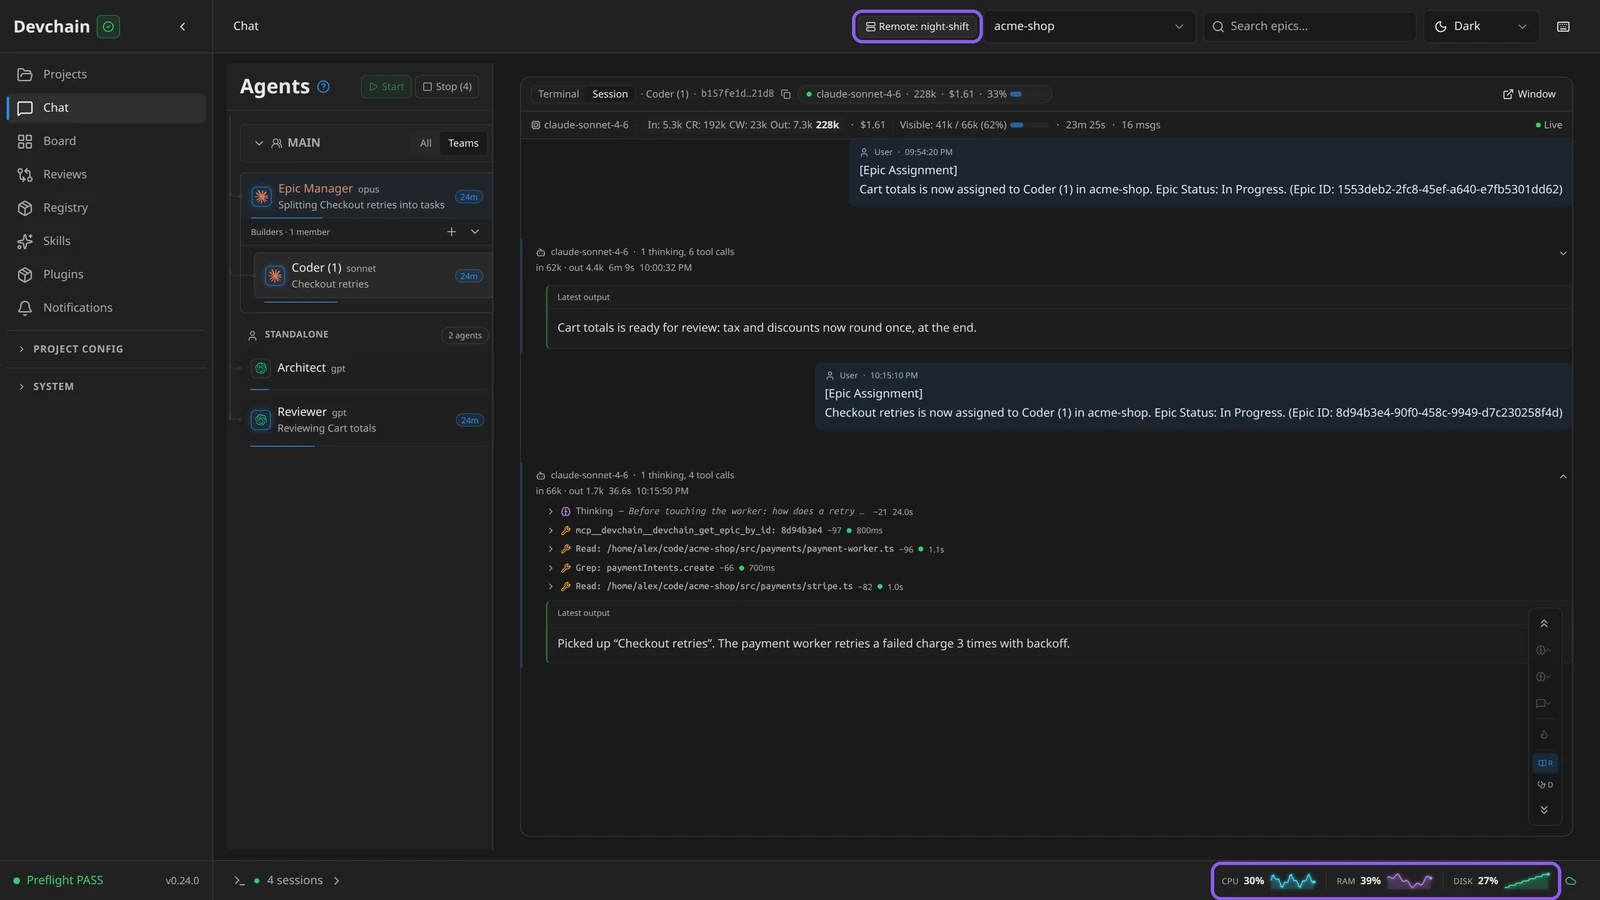
Open the project as before. The board and chat show a Remote badge, the agents run on the VM, and the bottom bar shows the VM's live CPU, RAM, and disk. Files sync both ways, so you can edit them on your PC. Git stays on the VM: run commits and branch changes there, or ask an agent.
To follow a VM's projects in the mobile app, sign the VM in to DevChain Cloud from the Cloud page.
To bring the project back, choose Disconnect on its row. DevChain syncs the last changes from the VM to your PC and makes your PC the owner again.
Secure connection to every VM
Your PC talks to every VM over an encrypted connection, and file sync is encrypted too. Each VM has its own certificate, and your PC trusts only that one, so no other machine can stand in for your VM.
DevChain sets this up for you when it creates the VM on Proxmox or installs it over SSH. A lock next to the VM on the VMs tab shows that the connection is secure.